Description
MARBLELIFE Grout Sealer is a fantastic combination of the strongest features of a superior quality sealer, without the negative features of many popular sealers. For you technical folks, MARBLELIFE Grout Sealer is both a hydrophobic and oilophobic, fluoropolymer impregnating sealer. Simply put, it’s an ultra high quality sealer that penetrates into the grout and repels both water based and oil based items. This is healthy for your grout, provides breathability, is durable, long lasting and provides superior sealing protection.
Additionally, it is easy to use and low odor compared to most solvent based sealers that have strong VOC’s. It penetrates into your grout, providing protection under the surface. It adheres a safe, durable, clear polymer material into the pores of the grout, which keeps staining materials from entering and staining the grout. It also helps keep out unhealthy bacteria, germs, oils and dirt which are not good for your grout or your health. As an added feature, MARBLELIFE Grout Sealer helps make cleaning quicker and easier. Moreover, it is easier to use than other solvent based sealers allowing virtually anyone to apply a quality application without streaking.
Available in the following sizes:
4 oz
8 oz
16 oz – MOST POPULAR
32 oz
1 Gal
Additional helpful information for you:
Product Directions:
It is highly recommended that before applying a sealer, that you do a Deep Cleaning of your grout. This gets the oils and dirt out of the pores which keeps them from being sealed in and allows the sealer to penetrate better into all the grout’s pores.
Deep Cleaning Grout
Needed Supplies:
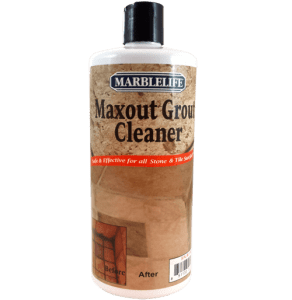
- MARBLELIFE MaxOut Deep Grout Cleaner
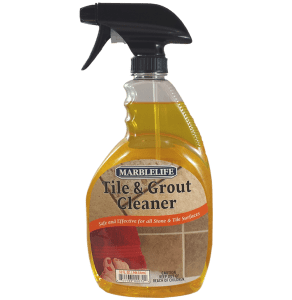
- MARBLELIFE Tile & Grout Cleaner Ready to Use Spray or
- MARBLELIFE Tile & Grout Floor Cleaner Concentrate
- MARBLELIFE Grout Sealer
- Microfiber Towel or other soft clean cloth
- Sponge or Sponge Stain Brush
Step 1: Deep Cleaning
It is recommended before applying a sealer that you first do a deep cleaning as detailed in the above “Deep Cleaning” sections. After deep cleaning, we recommended that you allow the grout to dry for at least a few hours before proceeding with applying a sealer.
STEP 2: Wall Grout – Wet & Dry
After you have cleaned your grout and it has dried, if in a shower proceed with this step. If you are cleaning floor grout, skip this step and proceed to Step 3.
Using a small sponge or a sponge stain brush, blot the sealer into the grout joints of the tiled wall. The objective is to saturate the grout with the sealer and allow the sealer to completely dry in the grout. As sealer gets on the tile, simply buff off so that the tiles remain dry. If sealer dries on the surface of the tile, re-wet the dried sealer with MARBLELIFE Grout Sealer and rub out dried sealer, then buff dry.
The Sealer will not hurt the tiles. Since the tiles most likely have a backed non-porous surface, the sealer can’t soak into the tiles and will dry to a film on the surface which can be promptly removed as described above.
Step 3: Floor Grout – Pour On & Soak
After your tile and grout surface is clean and dry, and if in a shower the walls are done, pour MARBLELIFE Grout Sealer directly into the grout joints and allow to dry. If any gets on the tiles or other surfaces, simply wipe off. If sealer is allowed to pool and dry on hard surfaces, it will cause a residue. If this occurs re-wet the residue with MARBLELIFE Grout Sealer and rub residue off, then buff dry. Once the sealer in the grout is dry you are done. Allow 72 hours for the sealer to fully cure.
Things to Keep in Mind:
If you have epoxy grout, you will not need to apply a sealer, as epoxy grouts are non-porous. While this does not mean they cannot be stained, or discolored, it does mean that a sealer is not required. Similarly if you have an acrylic-modified grout here, again an additive has been added to make the grout non-porous obviating the need for a sealer. Both of these are rare cases, with most floors being installed with either a sanded or non-sanded cementitious grout which will indeed require a grout sealer.
Other Notes:
If your grout is stained and you are struggling to clean it, give MARBLELIFE a call. More than likely the original seal has failed, dirt has penetrated below the surface of the grout where it is easier to clean, and you may need a professional assessment and service to restore the clean look you want before sealing it in.
If you are not satisfied with the results, please contact MARBLELIFE Customer Care for free assistance in achieving the desired results.
Want to know the best way to clean & seal?
Step 1: Clean – Depending on your unique problems, we have specialized cleaners ready to tackle the biggest bathroom culprits. We recommend they are used in this order for the best results:
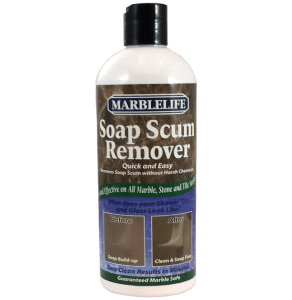
- MARBLELIFE Soap Scum Remover
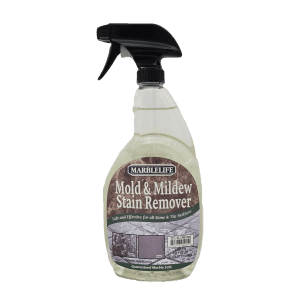
- MARBLELIFE Mold & Mildew Stain Remover
- MARBLELIFE MAXOUT Deep Grout Cleaner
Step 2: Seal – Sealing makes future cleaning easier and faster. MARBLELIFE Stone Sealer & Grout Sealer keeps oil and dirt on the surface, where it’s simple to spray and wipe away. Unsealed grout or stone will become stained. There is no guarantee that these stains can ever be fully removed, leading to costly replacements.
Step 3: Maintain – Use MARBLELIFE Tile & Grout cleaner to keep the area free of dirt and oils, and to prevent the same issues from quickly reoccurring.
MARBLELIFE… Helping Make Your Life Easier.


What others are saying
There are no contributions yet.